|
Remove Carpet
|
Started by pulling out all the old carpet being careful to not rip or tear the pieces as they came out. The old carpet pieces make good templates for cutting the new vinyl sections later.
|
|
|
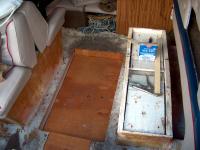
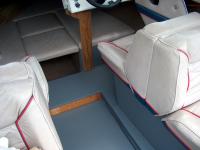
Stripped the seat bases too. Even the storage shelf to their outside. Don't have enough vinyl to cover the shelf, but will paint it a match grey color.
|
Seat Bases
|
|
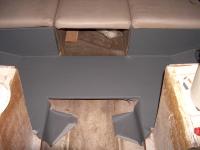
What is this???
|
Found what looked like the deck was struck with a hammer, turns out the dent was filler where the flotation foam was injected under the deck. Found another on the other side that had loosened up too.
|
|
|
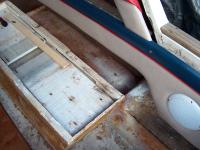
Decided rather than fill the hole with resin, to cut a larger hole and fit with an access/inspection port. Cut a 4" hole with a jig saw.
|

Cut inspection hole
|
|
Plywood Cut
|
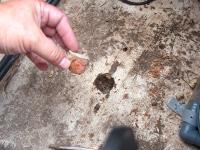
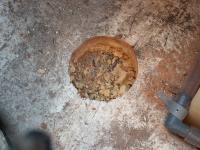
Removed the plywood plug and cut out the foam. It was nice and dry! A great relief!
|
|
|
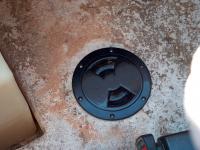
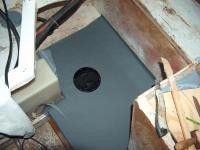
Used ABS Deck Plate. Fits nice.
|

Fit Access Port
|
|
Port Side
|
Did the same on the Port side.
|
|
|
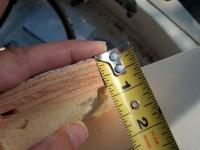
The plywood is 5/8" thick. Not bad for a 16' Cuddy!
|
Deck
|
|
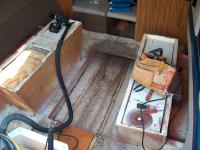
Interior stripped
|
Have all the carpet remove. Washed and sanded deck.
|
|
|
The bulkhead on the helm side was removed, and it will be replaced with a vertical support. Was playing around with a piece of aluminum pipe in the photo, but may end up with a 4" wide section of plywood.
|
Removed Helm Bulkhead
|
|
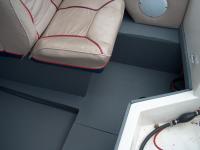
Fore area covered
|
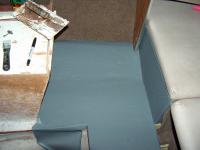
Installed the vinyl in front of the seats. It is very time consuming to get a piece installed and fit proper.
|
|
|
|
Starboard Side
|
|
Port Side
|
|
|
|
|
Started Aft.
|
|
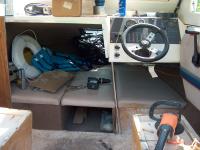
Seats Back In
|
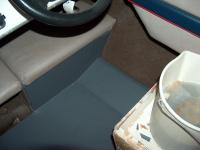
Getting close to being done. Note modified bulkhead under dash. Its been cut down to a 4" wide support, leaving more open space to the cuddy.
|
|
|
|
Aft Area
|
|
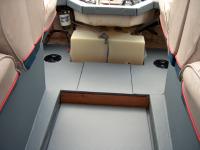
Center
|
The trim around the splash well was wrapped in Deco Dot too. Now have to enclose gas tank and make access doors for the area to each side for storage. But that is another project.
|
|